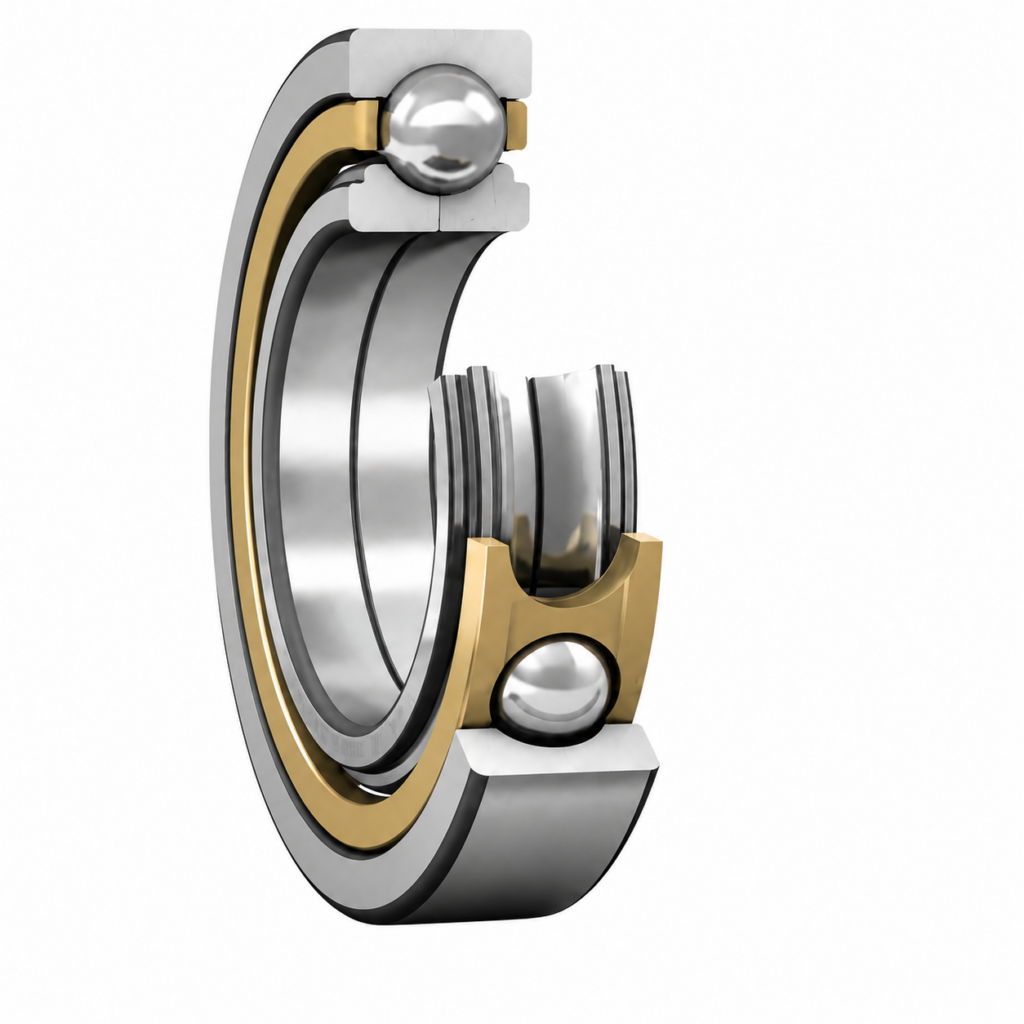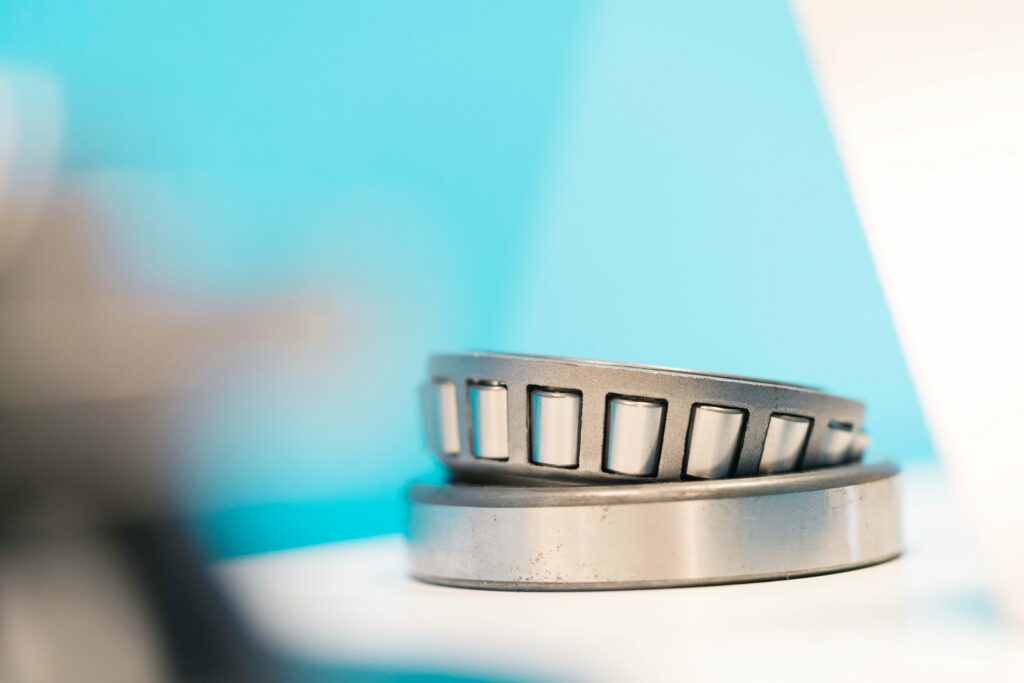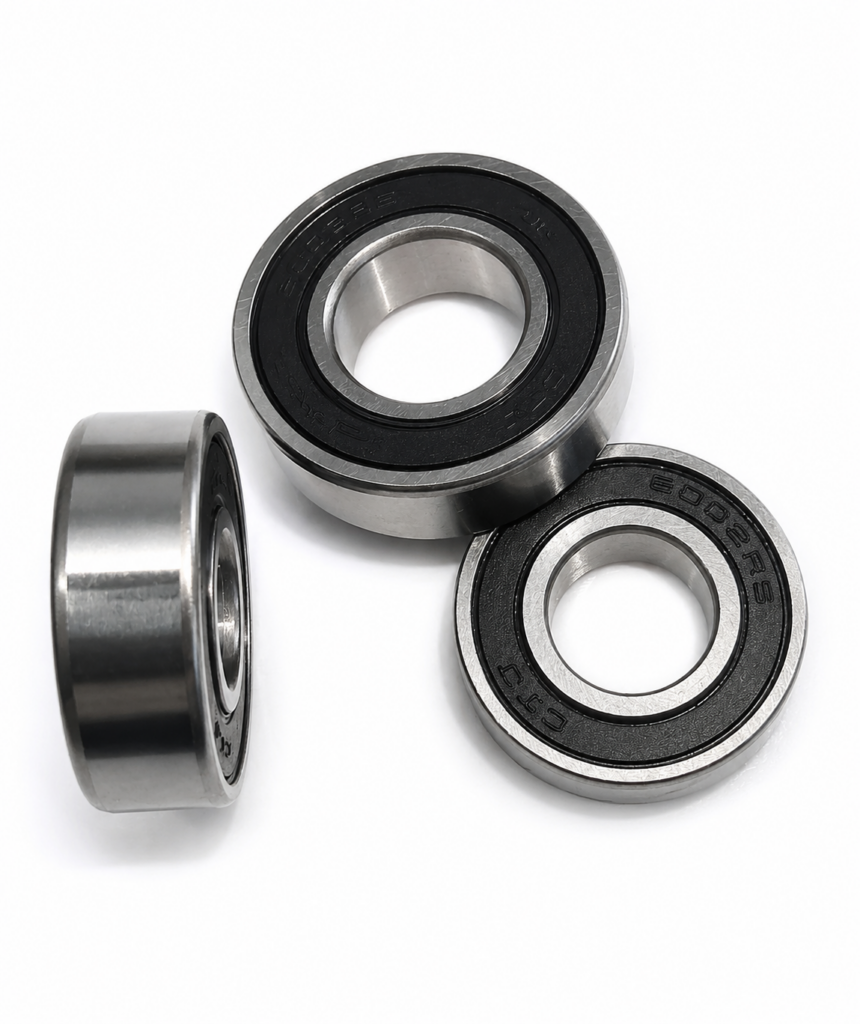
Replacing a bearing begins with accurate measurement. When the old part number is readable, the number should still be checked against the bearing’s actual dimensions. When the marking has worn away, measurement becomes the primary way to identify a replacement. The goal is not simply to find a bearing that appears similar: it is to confirm the correct bearing type and its bore, outside diameter, and width before ordering.
This guide focuses on the practical measurement process. It explains which tools are appropriate, how to use them, how to record the result, and which errors most often cause a replacement bearing not to fit.
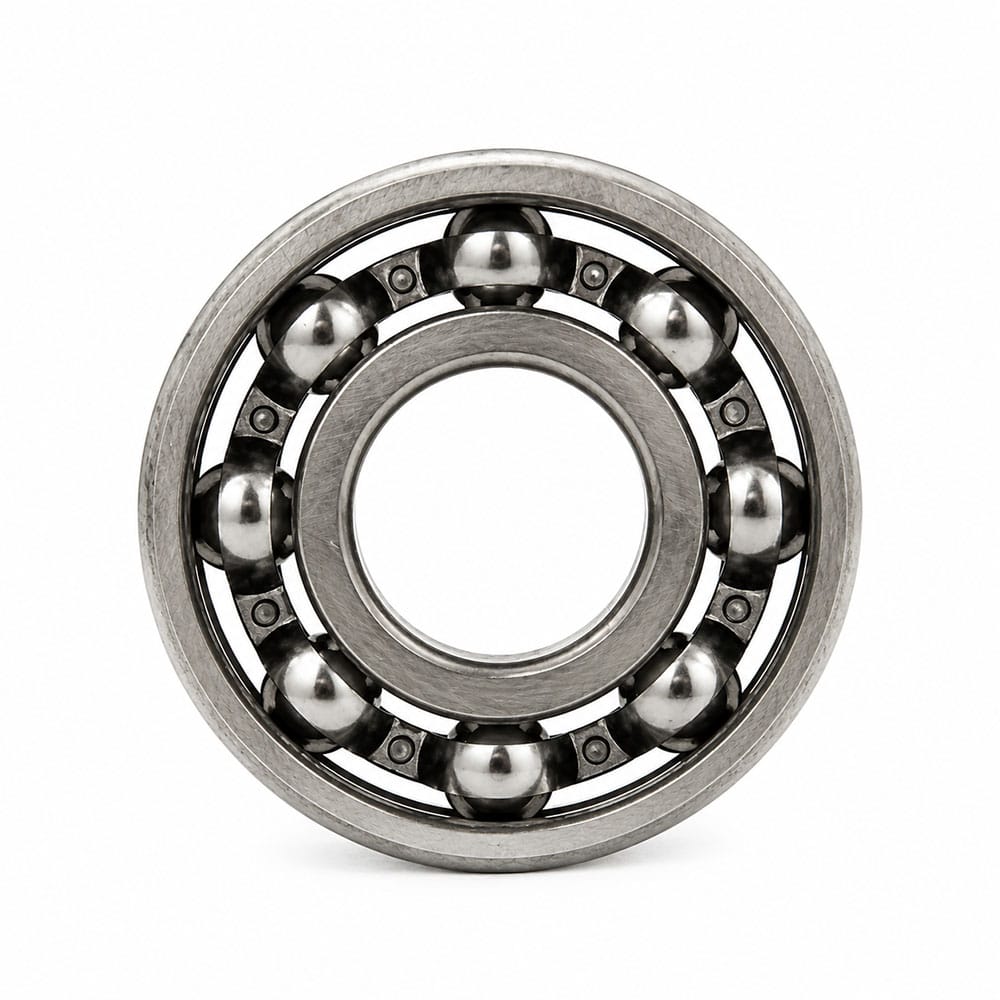
Figure 1. A deep-groove ball bearing. Before selecting a replacement, confirm the bearing type as well as its bore, outside diameter, and width.
1. Identify the Bearing Type Before Measuring
The same three measurements do not describe every bearing in exactly the same way. First identify the basic construction. Common examples include deep-groove ball bearings, miniature bearings, thin-section bearings, needle roller bearings, tapered roller bearings, and thrust bearings.
For a standard deep-groove ball bearing, the three dimensions are normally recorded as bore × outside diameter × width. A tapered roller bearing needs extra care because its cone and cup are separate components; its assembled width should be identified, and the matched cup-and-cone designation should be retained when possible. A thrust bearing must also be checked for its load direction and washer arrangement. Measuring a radial bearing correctly will not make it a valid replacement for a thrust bearing.
Before cleaning or removing the old part, take photographs of both faces and the installation location. Record any marking visible on the ring, seal, shield, or packaging. This information is often more useful than a single measurement when confirming an unusual or non-standard bearing.
2. Choose the Right Measuring Tool
For most industrial replacement work, a digital vernier caliper with 0.01 mm resolution is the essential tool. It can measure the bore, outside diameter, and width quickly, and it is practical for standard ball bearings, small tapered bearings, and many needle bearings. A good caliper must be clean, undamaged, and zeroed before use.
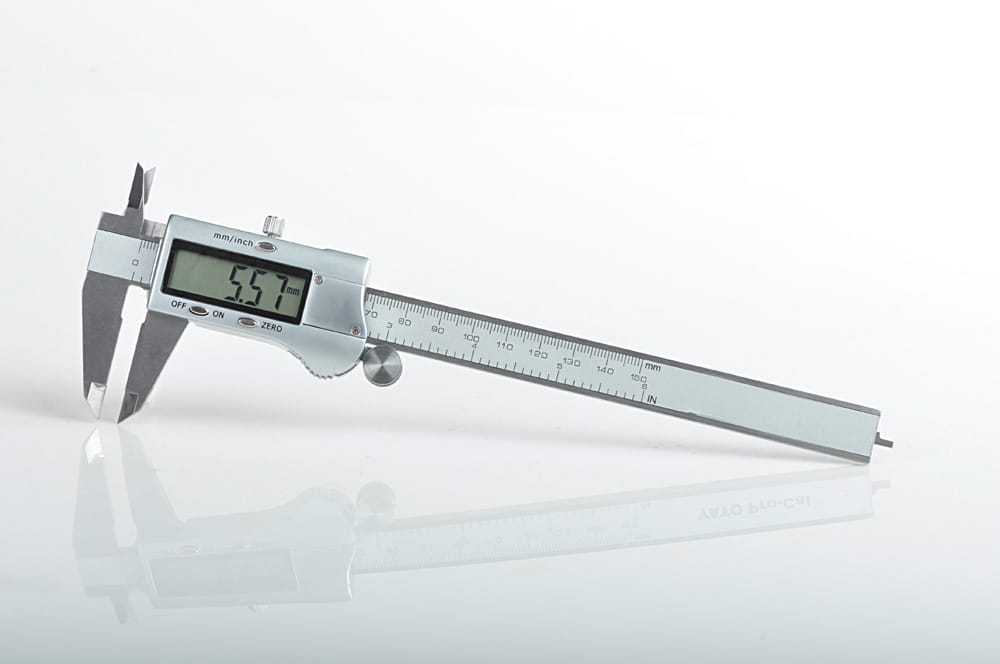
Figure 2. A metric digital caliper is the most practical all-purpose tool for measuring replacement bearings.
For higher accuracy or for a bearing with a small tolerance range, use more specialized tools:
- Outside micrometer: best for confirming shaft diameter, bearing outside diameter, or other external dimensions where higher accuracy is needed.
- Inside micrometer or bore gauge: useful for larger bearing bores and for checking a shaft bore or housing more precisely.
- Depth gauge: useful when a housing shoulder, recess, or seating depth must be verified.
- Feeler gauge: useful for checking a visible clearance or gap in an assembly, but not for determining bearing size.
- Steel rule: acceptable only as a rough preliminary check. It is not accurate enough to identify a replacement bearing confidently.
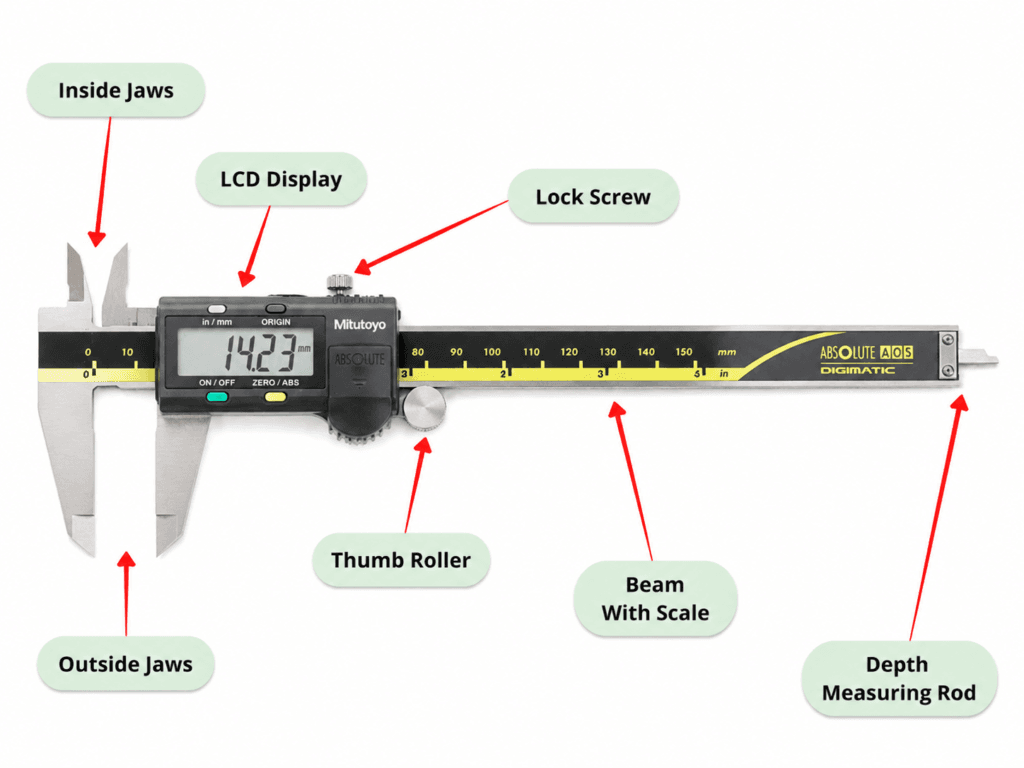
Figure 3. Caliper anatomy: the larger outside jaws measure the bearing OD and width; the smaller inside jaws measure the bore.
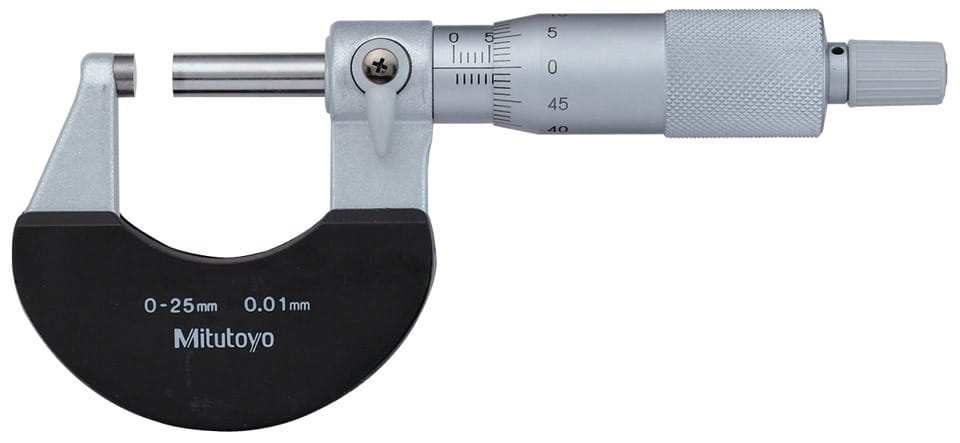
Figure 4. An outside micrometer provides higher accuracy when an external dimension must be confirmed.
Do not measure a bearing with a tape measure, worn caliper, or ruler and then assume the nearest catalogue size is correct. A difference of 0.5 mm can prevent a bearing from fitting a shaft or housing. Small bearings and miniature bearings require even more care because a very small error represents a large percentage of the total size.
3. Prepare the Bearing and the Tool
Remove loose grease, dust, rust flakes, and burrs from the areas to be measured. A thin layer of oil is acceptable, but heavy grease can stop a caliper jaw from seating correctly. If the bearing has just been removed from a hot machine, let it cool to room temperature before measuring. Steel expands with temperature, and a warm bearing can produce a misleading result.
Clean the caliper jaws with a lint-free cloth. Close the jaws gently and confirm that the display reads zero. Check that the jaws move smoothly and that no visible damage is present. Never force the jaws into a bore or clamp them tightly around a ring. The purpose is to make light, square contact with the surface, not to compress a seal or distort a thin ring.
4. Measure the Bore Diameter (ID)
The bore is the inner diameter of the bearing and must match the shaft. Use the internal measuring jaws of the caliper. Insert the jaws into the bore, open them gently until they touch opposite sides of the inner ring, and keep the caliper approximately perpendicular to the bearing face.
Take at least two readings at positions about 90 degrees apart. If the readings differ, rotate the bearing and repeat the test. The variation may indicate wear, an out-of-round inner ring, dirt on the measuring surface, or a caliper that is not square. Record the most credible nominal dimension, but do not treat a worn bearing as proof of the original size. For example, a shaft bearing surface that has fretted may make the bore appear larger than the catalogue value.
For a standard 6205 bearing, the expected bore is 25 mm. If you measure approximately 25 mm but obtain a different outside diameter or width, do not order 6205 until all three dimensions agree.
5. Measure the Outside Diameter (OD)
The outside diameter is the dimension that fits the housing bore. Use the outside measuring jaws of the caliper and contact the steel outer ring itself, not the edge of a rubber seal, shield, or debris layer. Keep the jaws square to the ring and take two readings at different positions.
If the outer ring is rusty or damaged, clean it carefully without removing material. A damaged housing bore may be the real reason a replacement bearing becomes loose, so measure the housing separately if the old outer ring shows polishing, fretting, or signs of movement. The new bearing cannot compensate for an oversized or oval housing.
6. Measure the Width
For most radial ball bearings, width is measured between the two main side faces of the rings. Place the bearing on a clean flat surface and close the caliper gently across its faces. Do not include a protruding seal lip if it extends beyond the ring face.
For tapered roller bearings, the relevant dimension is often the total assembled width rather than the width of the cone or cup alone. Record whether the figure is the cone width, cup width, or total width. For needle roller bearings, confirm whether the bearing has an inner ring; the absence of an inner ring changes how the application must be measured and selected.
7. Record the Result in a Usable Format
Use this standard format:
Bearing type — ID × OD × Width — seal/shield — clearance — application notes
For example:
Deep-groove ball bearing — 25 × 52 × 15 mm — 2RS — C3 — electric motor, dusty environment
This record gives a supplier enough information to verify the part instead of guessing from an incomplete description. If a marking is visible, write it exactly as it appears. A suffix such as 2RS, ZZ, or C3 can be important, but it should never replace the dimensional check. Brand suffixes are not always identical, so a supplier should confirm the seal, clearance, cage, and material requirements against the intended application.
8. Common Measurement Errors to Avoid
The most frequent mistake is measuring only the bore. Bearings with the same bore can have different outside diameters and widths. Other common errors include:
- measuring over grease, corrosion, or a damaged seal;
- using inch measurements without converting carefully to millimetres;
- confusing a rubber seal’s outer lip with the steel outer ring;
- recording one half of a tapered roller bearing as the complete bearing;
- ignoring whether the bearing is open, shielded, or sealed;
- assuming C3 is automatically better than normal clearance;
- measuring a hot bearing or a bearing still under load in its housing;
- ordering a part from an approximate ruler measurement.
Correct measurement identifies a candidate replacement; it does not by itself guarantee that the bearing is appropriate. Load direction, speed, temperature, lubrication, contamination, fit, and required life must still be checked.
9. When to Ask for Technical Confirmation
Request technical confirmation when the bearing has an unreadable marking, non-standard dimensions, frequent early failure, unusual speed, heavy axial load, high temperature, or exposure to water and contaminants. Send clear photographs, the bearing type, all measured dimensions, the old marking, and a short description of the machine and operating conditions.
Accurate tools and a disciplined method prevent costly ordering mistakes. Measure the bore, OD, and width carefully, record the bearing type and operating requirements, and confirm any uncertain suffix before purchasing a replacement.