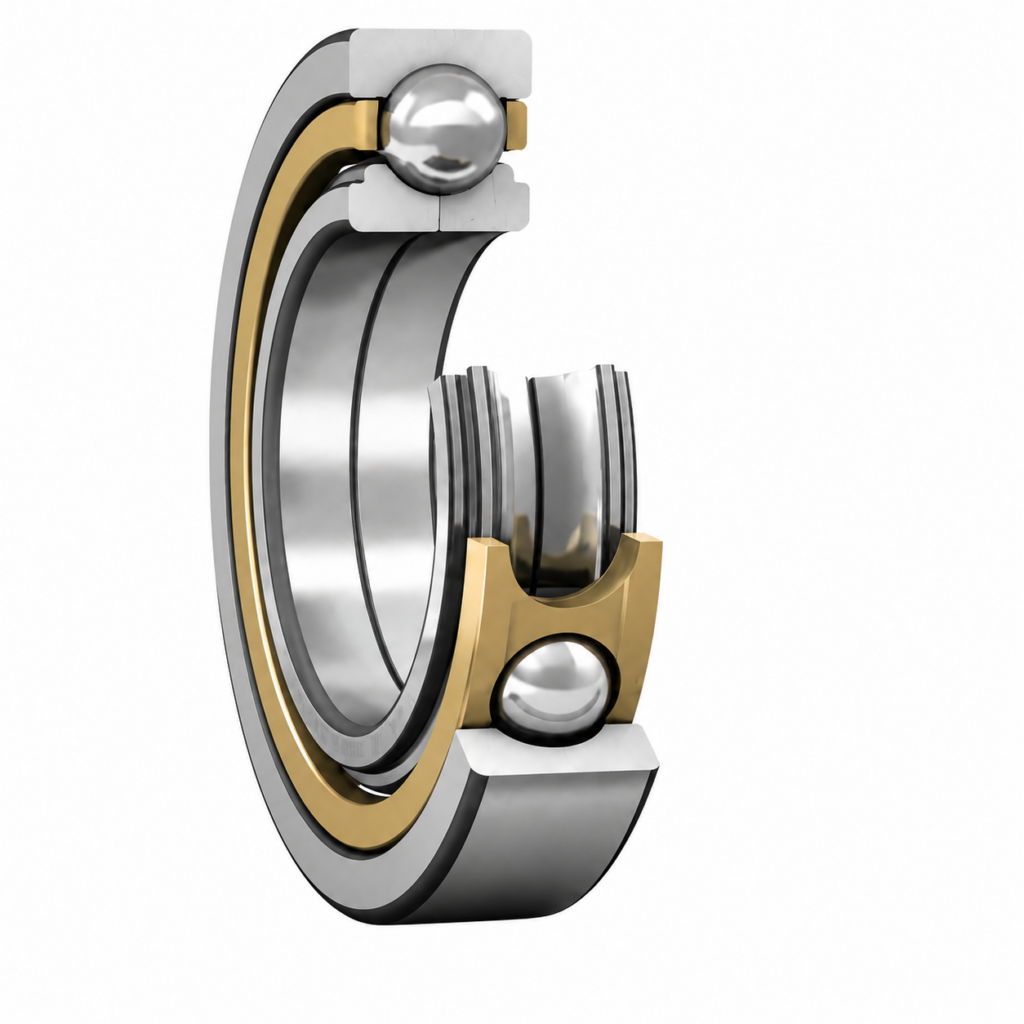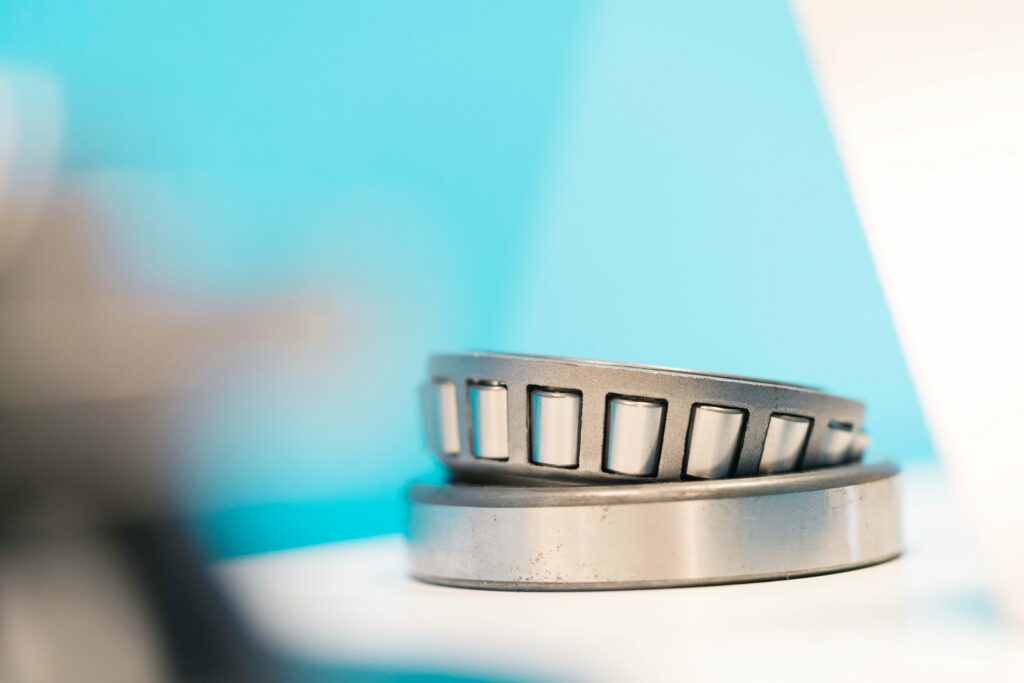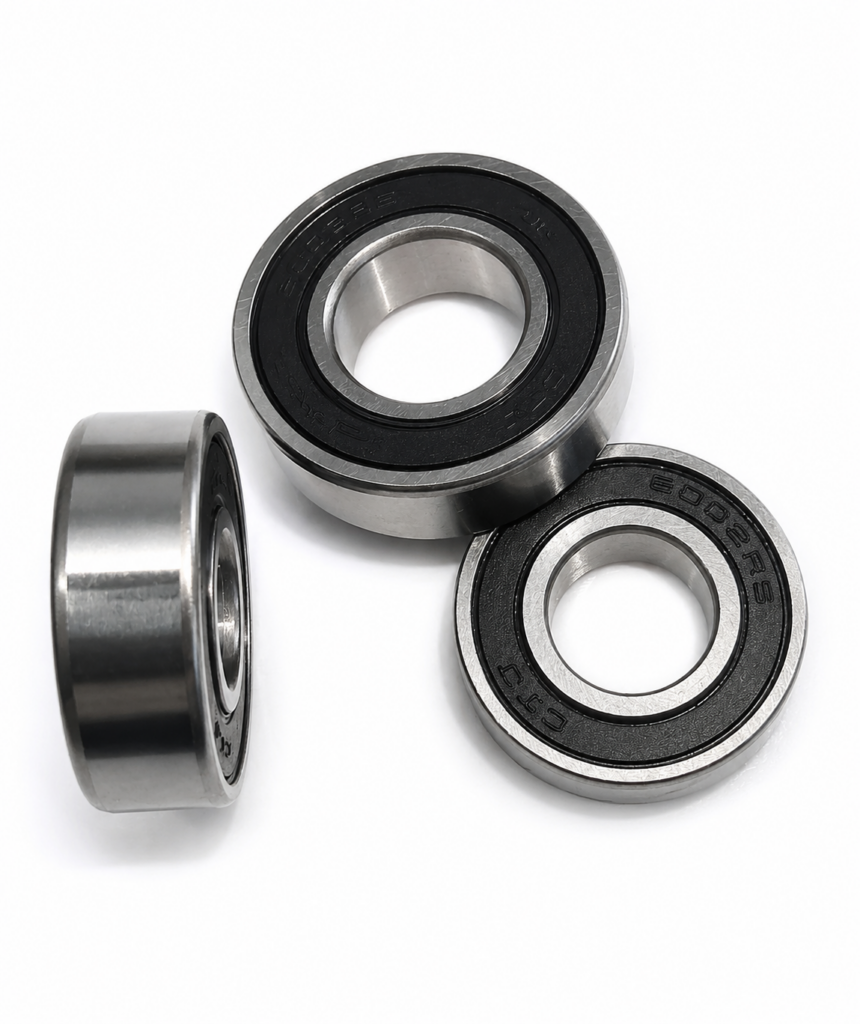
When a bearing becomes noisy, hot, or unstable, replacing it immediately may restore the machine for a short time, but it does not necessarily solve the problem. A bearing is often the first component to display damage caused elsewhere in the system. Incorrect lubrication, contamination, excessive fit, shaft misalignment, overload, poor mounting, or electrical current can all leave similar-looking symptoms.
The purpose of bearing failure diagnosis is therefore not simply to name the visible damage. It is to connect the symptom to the operating history, inspect the evidence in a controlled order, identify the most probable root cause, and remove that cause before installing the replacement.
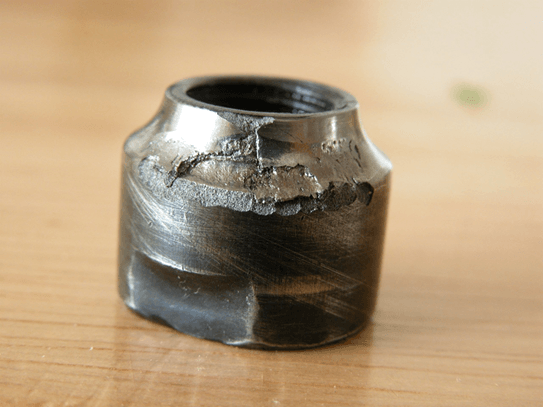
Figure 1. Severe bearing damage. Once damage reaches this stage, secondary destruction can hide the original failure mechanism.
1. Diagnose the System, Not Only the Bearing
A failed bearing should be treated as evidence. Before cleaning, rotating, or dismantling it, record the machine condition. Note the operating speed, load, temperature, lubricant, relubrication interval, installation date, vibration trend, and the moment when the symptom first appeared. Photograph both sides of the bearing and its position in the housing.
Ask four initial questions:
- What changed before the symptom began?
- Was the failure sudden or progressive?
- Did temperature, noise, or vibration rise first?
- Has the same bearing position failed before?
Repeated failure at the same location strongly suggests a system problem. Installing a more expensive bearing will not correct an oval housing, misaligned shaft, excessive belt tension, blocked lubrication passage, or unsuitable seal.
2. Symptom: Abnormal Noise
Bearing noise can take several forms. A steady hiss or light rustling may point to contamination or inadequate lubrication. A repeating click may indicate localized damage on a raceway. A sharp squeal can be associated with sliding, seal friction, insufficient lubricant film, or excessive preload. A low-frequency rumble often appears when surface damage has progressed.
Do not diagnose from sound alone. First isolate the source from gears, belts, couplings, fans, and loose machine panels. Compare the suspect location with a similar healthy bearing using the same measurement method. If the machine can be stopped safely, rotate the shaft by hand and check for roughness, tight spots, or axial movement.
Corrective action depends on the evidence. If grease is dry, hardened, contaminated, or insufficient, investigate the lubrication method and sealing system. If the raceways contain dents or flakes, replace the bearing and identify how the damage was created. Adding grease to a physically damaged bearing may temporarily reduce noise, but it cannot repair the rolling surfaces.
3. Symptom: Excessive Temperature
A newly installed grease-lubricated bearing can experience a short running-in temperature rise. Concern is justified when temperature continues to increase, remains above the normal baseline, or is accompanied by odor, grease leakage, discoloration, noise, or rising vibration.
Common causes include too much grease, too little grease, unsuitable viscosity, excessive interference fit, insufficient internal clearance, high seal friction, misalignment, overload, or excessive shaft speed. Too much grease can be as harmful as too little because the rolling elements churn the lubricant and generate heat.
Check the temperature trend rather than relying on one reading. Confirm the lubricant type, quantity, compatibility, and replenishment interval. Measure the shaft and housing fits when the bearing is removed. For applications with significant interference or operating heat, a larger initial internal clearance such as C3 may be appropriate, but C3 is not a universal cure. The required clearance must be selected from the fit, temperature difference, speed, load, and desired operating clearance.
4. Symptom: Rising Vibration
Vibration often increases as dents, cracks, spalling, looseness, or misalignment develop. The exact vibration spectrum can help distinguish inner-race, outer-race, rolling-element, and cage-related frequencies, but basic mechanical checks remain essential.
Inspect the shaft shoulder, locknut, spacer, housing bore, and mounting faces. Look for fretting marks that indicate movement between the ring and its seat. Check coupling alignment and belt tension. A bearing may be correctly selected yet fail early because the surrounding components bend the shaft or load the bearing unevenly.
If vibration rises after installation, examine the mounting process. Pressing force must be applied to the ring with the interference fit. Force transmitted through the balls or rollers can create indentations before the machine starts. Direct hammer blows, dirty mounting surfaces, and forcing a misaligned bearing onto the shaft are common causes of early damage.
5. Root Cause: Lubrication Failure
Lubrication separates rolling contacts, reduces friction, carries away heat, and helps protect against corrosion. Failure can result from insufficient quantity, excessive quantity, incorrect viscosity, incompatible grease mixing, oxidation, contamination, or an interval that does not match the operating conditions.
Evidence may include polished or smeared surfaces, scoring, heat discoloration, dry grease, burned odor, or metal transfer. However, a destroyed bearing can contain debris from its own damage, so contaminated lubricant is not automatically proof that external contamination started the failure.
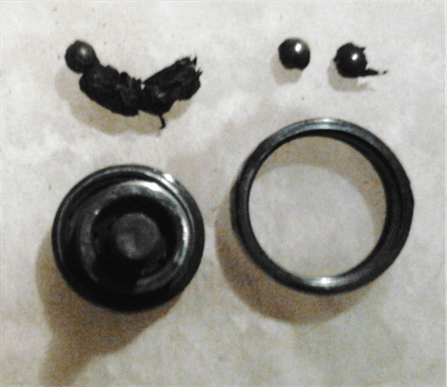
Figure 2. A bearing destroyed by severe overheating. The visible damage confirms excessive heat, but operating evidence is still needed to identify the initiating cause.
Corrective actions include selecting the proper lubricant for speed, temperature, load, and environment; applying the correct fill quantity; establishing a realistic relubrication interval; cleaning delivery lines; and preventing incompatible greases from being mixed. A sealed-for-life bearing should not be treated as maintenance-free under conditions outside its design range.
6. Root Cause: Contamination and Corrosion
Dust, abrasive particles, water, coolant, and process chemicals can enter through an unsuitable or damaged seal. Hard particles create dents and wear tracks. Water reduces lubricant performance and promotes corrosion. Stationary machines may also suffer condensation when temperature cycles cause moisture to form inside the housing.
Look for rust, water marks, dull raceways, abrasive wear, dark lubricant, damaged seal lips, and debris paths near the housing opening. Corrective action may require a 2RS sealed bearing, a more effective external seal, improved shaft surface quality, a labyrinth arrangement, positive-pressure purge, or better storage and washdown procedures. The bearing seal must be selected as part of the machine sealing system, not as an isolated feature.
7. Root Cause: Incorrect Fit, Clearance, or Alignment
The inner and outer rings must be supported with suitable fits. A fit that is too loose can allow creep and fretting. A fit that is too tight can reduce internal clearance, increase heat, and overload the rolling contacts. An out-of-round shaft or housing transfers its shape to the bearing ring and changes the internal load distribution.
Measure the shaft and housing at several angular positions and along the seating width. Check shoulders for squareness and burrs. Confirm that locating and non-locating bearing positions allow thermal expansion where required. Misalignment can also arise from bent shafts, distorted housings, inaccurate machining, or coupling errors.
The corrective action is not merely to choose a different bearing clearance. Restore the shaft and housing geometry, correct alignment, and then select the fit and clearance that produce the required operating condition.
8. Root Cause: Overload and Wrong Bearing Selection
Loads may exceed expectations because of belt tension, shock, process changes, shaft bending, unbalanced components, or unexpected axial force. Deep-groove ball bearings handle radial load and moderate axial load, but severe axial loading may require angular-contact or thrust bearings. Tapered roller bearings require correct adjustment, while thin-section and miniature bearings are especially sensitive to distortion and mounting errors.
Review actual load direction, magnitude, speed, duty cycle, temperature, and required life. If the bearing repeatedly fails despite correct lubrication and installation, recalculate the application rather than selecting a replacement only by dimensions.
9. Root Cause: Cage Damage and Electrical Damage
Cage damage can follow shock loading, vibration, misalignment, poor lubrication, excessive acceleration, or incorrect handling. A broken cage is often a late-stage result rather than the first cause, so inspect the raceways and mounting condition before concluding that the cage alone was defective.
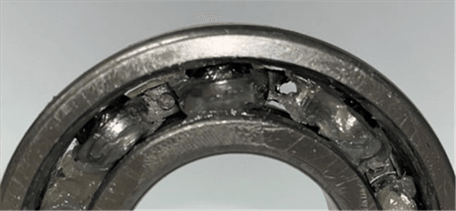
Figure 3. Cage breakage can be secondary damage. Inspect lubrication, alignment, shock loading, and raceway condition before assigning the root cause.
In electric motors and inverter-driven equipment, current passing through the bearing can create microscopic pits and washboard-like fluting. The solution may involve insulated bearings, ceramic rolling elements, shaft grounding, improved motor grounding, or changes to the drive system. Replacing the bearing without controlling the electrical path allows the damage to return.
10. A Practical Failure-Analysis Workflow
Use the following order:
- Preserve the evidence and record operating history.
- Confirm that the symptom originates at the bearing position.
- Check lubrication, seals, temperature, alignment, and external loads.
- Remove the bearing with a method that does not create new damage.
- Inspect the ring seats, raceways, rolling elements, cage, and lubricant.
- Compare all evidence with the timing and location of the symptom.
- Identify the most probable root cause and any contributing causes.
- Correct the system condition before installing the replacement.
- Establish a post-installation baseline for temperature, noise, and vibration.
Bearing failure diagnosis is strongest when multiple pieces of evidence agree. A visible mark by itself rarely tells the whole story. The most reliable result comes from combining machine history, operating data, mounting measurements, lubricant condition, seal condition, and damage location.
Conclusion
Noise, heat, vibration, corrosion, and cage damage are warning signs, not complete diagnoses. A successful repair connects each symptom to its mechanical cause and removes that cause before replacement. By preserving evidence, checking the surrounding system, and following a consistent inspection sequence, maintenance teams can reduce repeat failures and select a bearing, fit, clearance, lubricant, and seal that match the real operating conditions.